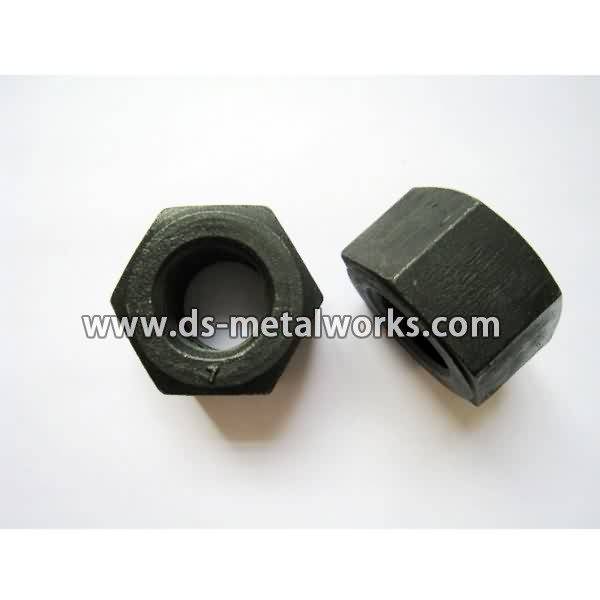
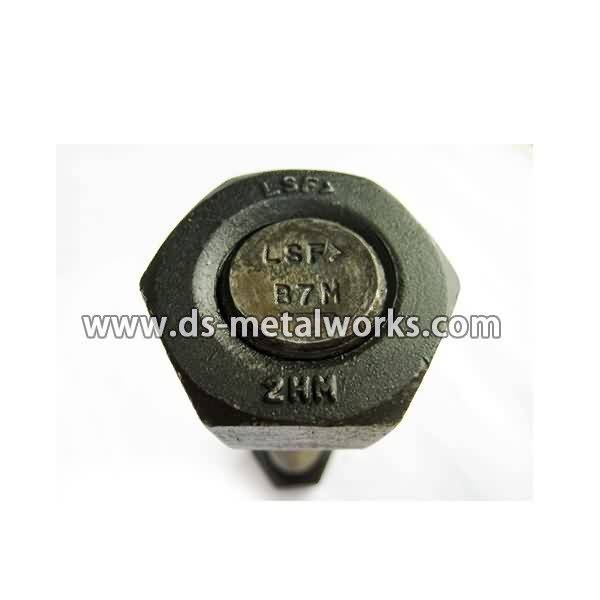
Factory made hot-sale Din2510 Double End Studs with Reduced Shank with Hexagon Nuts Export to Chile
Short Description:
Din2510 Double End Studs with Reduced Shank with Hexagon Nuts Standard: Din 2510 Form L, Z, K, ZU/KU, GP, GQ, GR, GS, HP, HQ,NF, TF, AF/AFO, BF/BFO Metric Thread Size: M12-M100 with various lengths Available Material or Grade: ASTM 193/320 B7, B7M, L7, L7M, B16, B8, B8M, B8T CL1&CL2 ASTM 194 2H, 2HM, 4, 7, 7M, 8, 8M ASTM A453 660 ISO 898-1 5.8, 6.8, 8.8, 10.9, 12.9 1.1181 / C35E 1.1191 / C45E 1.7218 / 25CrMo4 1.7225 / 42CrMo4 1.7709 / 21CrMoV5-7 1.7711 / 40CrMoV4-6 1.7729 / 20CrMoVTiB4-10...
Product Detail
Product Tags
Factory made hot-sale Din2510 Double End Studs with Reduced Shank with Hexagon Nuts Export to Chile Detail:
Din2510 Double End Studs with Reduced Shank with Hexagon Nuts
Standard: Din 2510 Form L, Z, K, ZU/KU, GP, GQ, GR, GS, HP, HQ,NF, TF, AF/AFO, BF/BFO
Metric Thread Size: M12-M100 with various lengths
Available Material or Grade:
ASTM 193/320 B7, B7M, L7, L7M, B16, B8, B8M, B8T CL1&CL2
ASTM 194 2H, 2HM, 4, 7, 7M, 8, 8M
ASTM A453 660
ISO 898-1 5.8, 6.8, 8.8, 10.9, 12.9
1.1181 / C35E
1.1191 / C45E
1.7218 / 25CrMo4
1.7225 / 42CrMo4
1.7709 / 21CrMoV5-7
1.7711 / 40CrMoV4-6
1.7729 / 20CrMoVTiB4-10
1.4913 / X19CrMoNbVN11-1
1.4923 / X22CrMoV12-1
1.4980 / X6NiCrTiMoVB25-15-2)
1.4986 / X7CrNiMoBNb16-16
Inconel 625, Inconel 718, Duplex, SuperDuplex
Finish: Plain, Black Oxide, Zinc Plated, Zinc Nickel Plated, Cadmium Plated, PTFE etc.
Packing: Bulk about 25 kgs each carton, 36 cartons each pallet
Advantage: High Quality and Strict Quality Control, Competitive Price,Timely Delivery; Technical Support, Supply Test Reports
Please feel free to contact us for more details.
Product detail pictures:


Reliable good quality and very good credit standing are our principles, which will help us at a top-ranking position. Adhering to your tenet of quality 1st, purchaser supreme for Factory made hot-sale Din2510 Double End Studs with Reduced Shank with Hexagon Nuts Export to Chile, The product will supply to all over the world, such as: South Africa, Ireland, Serbia, We welcome you to visit our company & factory and our showroom displays various products and solutions that will meet your expectations. Meanwhile, it is convenient to visit our website. Our sales staff will try their best to supply you with the best services. If you will need more information, please do not hesitate to contact us via E-mail, fax or telephone.
Grab yours HERE: https://goo.gl/UYqHV7
Hey everyone its Erik from MAPerformance.com. Today we are going to show you how to install your new MAPerformance 3” Downpipes on your BMW 135 or 335i
We talked a bit about these already in the unbox video found here if you haven’t seen it already
Lets get to it!
We are going to start things off by saying we recommend you drop the subframe to get easier access to install these downpipes. However, we will be showing you how to from underneath for those with limited supplies and professional garage access.
Start things off by removing the under carriage tray
remove the 6 bolts from the front brace
pull the 4 bolts from where the downpipes meet the exhaust
remove the 2 bolts from the exhaust hanger
push the exhaust backwards carefully in order to release it from the downpipes
disconnect the rear oxygen sensors
be sure to remember not to swap the two sensors from bank 1 and bank 2 or vise versa, we recommend labeling them
The black shielded wire is bank one, or the front, and the grey one is bank two, or the rear
remove the oxygen sensor bracket
remove the two nuts off of the upper downpipe bracket
pull the two blue bolts out of the bell housing that hold the bracket
remove the bracket and reinstall the two bell housing bolts
next we will be getting the steering rack out of the way
remove the two bolts holding it in place
lightly slide the rack forwards and out of the way so that you have enough room for your hands
be sure not to pull too far or it could slide off of the steering joint
next we recommend you remove the heat shield above the rack. it is not necessary but will make things easier later
your should now be able to remove the old downpipes, competing the uninstall!
Moving on to the INSTALL
replace motor mount bracket bolt with supplied bolt, we included this to solve clearance issues
start by putting your old oxygen sensors into place on the new downpipes
guide the rear downpipe up into place into the upper v-band clamp. this is a little tricky so be patient!
once secured, tighten the clamp to secure it while you install the 2nd pipe
leave it loose enough to adjust once both downpipes are fitted
get the 2nd pipe into place and tighten slightly
adjust both pipes to make sure they are not rubbing on the motor or each other
next slide the steering rack back into place
replace the 2 bolts to secure it
connect the 2 oxygen sensors back in
they should only go in one way
there will be extra wiring left over, we recommend tucking it up and zip tying it secure so it does not rub
grab your supplied gaskets and hardware
attach the downpipes to the exhaust with the 4 supplied bolts and 2 gaskets
we had to drill out the holds on the old exhaust because of rust build up
tighten all the bolts!
replace the front brace! remember 6 bolts
put the belly pan back into place and you’re all done!
That wraps up this video on installing your brand new downpipes for your BMW 335 and 135i. Get out and enjoy them! But before you do be sure do drop this video a like. If you have some feedback or questions let us know below! Don’t forget to subscribe to our channel for many more installs, unboxings and tons more cool stuff.
High speed recording of dynamic tests on blind-bolted angle connections under direct tension. Peak strain rate: 20 s^-1 | Global deformation rate: 50 mm/s | Grade 10.9 M16 Hollo-bolt | Angle L75x100x8. References: – Málaga-Chuquitaype, C., Elghazouli, A.Y., & Radu, E. (2016). Contribution of secondary frames to the mitigation of collapse in steel buildings subjected to extreme loads. Structure and Infrastructure Engineering 12(1):45-60 https://dx.doi.org/10.1080/15732479.2014.994534
- Málaga-Chuquitaype, C., Elghazouli, A.Y., & Liu, Y. (2014). Response of blind-bolted connections under extreme dynamic actions. In 7th European Conference on Steel and Composite Structures, Naples, Italy


