Brass Tip Set Screws Price - ASTM F1554 Anchor Bolts Foundation Bolts – Dingshen Metalworks

Short Description:
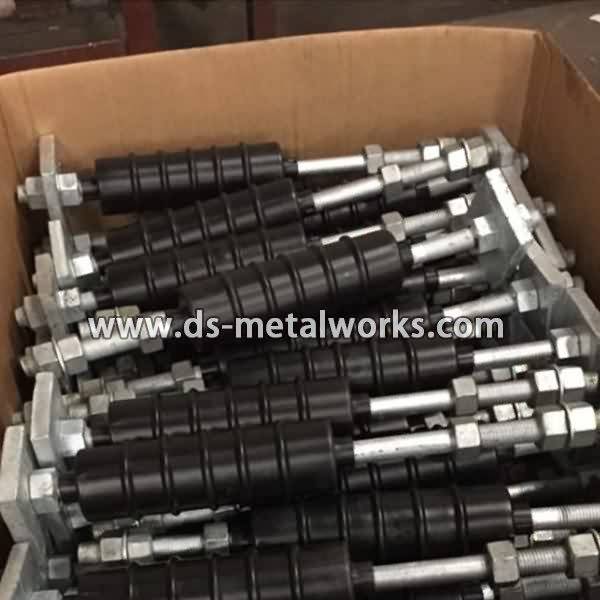
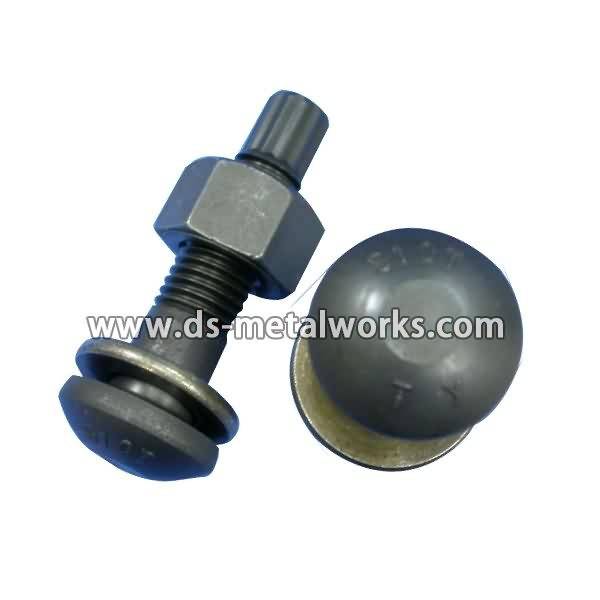
The ASTM F1554 specification covers anchor bolts designed to anchor structural supports to concrete foundations. F1554 anchor bolts can take the form of either headed bolts, straight rods, or bent anchor bolts. Thread Size: 1/4″-4″ with various lengths Grade: ASTM F1554 Grade 36, 55, 105 Various material grade and metric size are also available Finish: Plain, Black Oxide, Zinc Plated, Hot Dipped Galvanized, and so on. Packing: Bulk about 25 kgs each carton, 36 cartons each pallet....
Product Detail
Product Tags
Brass Tip Set Screws Price - ASTM F1554 Anchor Bolts Foundation Bolts – Dingshen Metalworks Detail:
The ASTM F1554 specification covers anchor bolts designed to anchor structural supports to concrete foundations.
F1554 anchor bolts can take the form of either headed bolts, straight rods, or bent anchor bolts.
Thread Size: 1/4″-4″ with various lengths
Grade: ASTM F1554 Grade 36, 55, 105
Various material grade and metric size are also available
Finish: Plain, Black Oxide, Zinc Plated, Hot Dipped Galvanized, and so on.
Packing: Bulk about 25 kgs each carton, 36 cartons each pallet. Or, comply with your requirement.
Advantage: High Quality and Strict Quality Control, Competitive price,Timely delivery; Technical support, Supply Test Reports
Please feel free to contact us for more details.
The ASTM F1554 specification was introduced in 1994 and covers anchor bolts designed to anchor structural supports to concrete foundations. F1554 anchor bolts can take the form of either headed bolts, straight rods, or bent anchor bolts. The three grades 36, 55, and 105 designate the minimum yield strength (ksi) of the anchor bolt. The bolts can be either cut or roll threaded and a weldable grade 55 can be substituted for grade 36 at the supplier’s option. Color coding on the end – 36 blue, 55 yellow, and 105 red – helps facilitate easy identification in the field. Permanent manufacturer and grade marking is allowed under the S2 supplementary requirements.
Applications for F1554 anchor bolts include columns in structural steel framed buildings, traffic signal and street lighting poles, and overhead highway sign structures to name just a few.
Product detail pictures:


abide by the contract, conforms into the market requirement, joins in the market competition by its good quality also as provides a lot more comprehensive and great company for purchasers to let them turn into huge winner. The pursue from the firm, would be the clients' gratification for Brass Tip Set Screws Price - ASTM F1554 Anchor Bolts Foundation Bolts – Dingshen Metalworks, The product will supply to all over the world, such as: Czech republic, Norwegian, French, we have complete material production line, assembling line , quality control system, and the most importantly, we have many patents technology and experienced technical&production team, professional sales service team. With all those advantages, we are going to createthe reputable international brand of nylon monofilaments, and spreading our products to every corner of the world. We are keep moving and try our best to serve our customers.
In this video, I use a 1&1/2″ diameter x 3&1/2″ long piece of 1045 steel to demonstrate slitting, punching and drifting a hammer eye and will give away (completely free of charge) the resulting completed hammer in my next video. In order to enter, please watch the video, like and share (if possible), then make a comment. Everyone who comments will have their name entered in the drawing. I will show the completed hammer and do the lucky draw in about six days. One entry per user name unless I state otherwise. I will then ship (standard airmail) the hammer free of charge in two business days after receiving the winner’s address. Good luck.
website: https://www.gstongs.com
email: glen03@earthlink.net
If you would like to donate any amount, click the Paypal donate button in the homepage banner. Or Paypal directly to my email – either way I will receive notification and recognize you in a video. Thanks. Glen
Machining, Hardening And Tempering A Form Tool For The Lathe, by Clickspring
There’s something really classy about the old style rope knurls that you often see on tools made around the turn of the 19th century. Making them is quite an involved process, and one of the steps involves making a form tool to prepare the work surface for the impending knurl.
This is the first video in a series of at least 3, that will relate to the subject of these beautiful ornamental knurl patterns
The main project video that this video is related to is “Machining A Set Of ‘Vintage Style’ Rope Knurls “: https://www.youtube.com/watch?v=i9pD5vIHJ8M
Free plans for the double angled cutter, and form tool:
https://www.clickspringprojects.com/uploads/3/8/2/2/38221101/double_angled_cutter.pdf
https://www.clickspringprojects.com/uploads/3/8/2/2/38221101/form_tool_profile.pdf
If you would like to help support the creation of these videos, then head on over to the Clickspring Patreon page: https://www.patreon.com/clickspring
Ask Me A Question:
https://www.clickspringprojects.com/contact.html
Follow Clickspring:
https://www.patreon.com/clickspring
https://www.facebook.com/Clickspring1
https://plus.google.com/u/0/113668471124073837794/posts
https://instagram.com/clickspring1/
https://www.tumblr.com/blog/clickspring1
https://www.pinterest.com/clickspring1
Transcript:
00:05 I’m about to make some brass thumbwheels, with a vintage style rope knurl. But before I can form the knurl pattern, I need to shape the brass perimeter, so that the knurling tool will work correctly, and I’m going to do it using a form tool like this.
00:20 The profile of the cutter is reasonably straight forward, but the relief angles require a bit of planning. I’ve chosen 10 degrees as the relief angle, and I should be able to take care of these front faces on the mill.
00:29 Ideally I’d cut the central section with a tapered end mill, but I don’t have one. So instead I’ll drill it out and then finish it off by hand using a file. So starting with some 1/4″ O1 tool steel, I cut off a section, and then squared it up on the mill.
00:54 Using this angle block, I set the work on a 10 degree angle in the vise, and then milled a datum face. I’m going to use the digital readout and this sharpened carbide rod to mark out some key points and lines. I milled a small flat for the drill point, and then drilled out the central section of the cutter profile.
01:49 Ok so next I need to mill the work down to this reference line, as well as across to this corner, while at the same time generating the relief angles. I can take care of the main relief angle in a similar way as before, by using the angle block to tilt the work in the vise.
02:05 And the second angle can be generated by using the swivel base of the vise. It’s not super accurate, but the relief angles don’t need to be overly precise, so its close enough for what I’m doing here today.
02:33 This section here needs to be profiled into a curve, while at the same time generating the 10 degree relief. I think the easiest way to tackle this is to use the belt sander, so I’ve tilted the table to 10 degrees, to match the other face angles, and then using a 400 grit belt, I formed the curve.
03:05 The curved section terminates at the point I marked out with the dro, and I’ve sanded as far into the corner as I dared, without risking the profile.
03:42 A quick rub on an oilstone takes care of the small burrs, and that’s the bulk of the hard work done. The top profile has come through the process mostly unscathed, and all of the cutting edges now have the required relief.
03:58 The last step is to quench harden the steel, and temper the cutting edge to a light straw. A quick polish on this oilstone, and its ready to be put to work.
04:28 A form tool like is a great way to get a repeatable profile onto a short run of parts. There’s a few drawbacks in using them though, that are worth mentioning.
04:37 Firstly, there’s a lot of cutter surface in contact with the work, particularly when it gets to the full depth, so it really is quite hard work for a small lathe like this. This cutter is about 15mm wide, and I’d say that its at the upper limit of what my lathe can cope with before it simply stalls.
04:50 Secondly chatter on a tool like this is pretty much unavoidable. But I’ve found that using a low rpm and keeping everything as rigid as possible makes it quite manageable.
05:25 Thanks for watching, I’ll see you later. If you’d like to see how the rope knurl pattern turned out, here’s the video covering that process.
References:
Frank Ford (Luthier/Machinist)
https://www.frets.com/HomeShopTech/Projects/RopeKnurl/ropeknurl.html
Machining, Hardening And Tempering A Form Tool For The Lathe, by Clickspring


